With the rise of technology and the increasing accessibility of electronic components, robotics has become a fascinating field for hobbyists, educators, and students. Among the various tools available, Arduino kits stand out for their simplicity and versatility, making them an excellent choice for building robots. In this guide, we’ll walk you through the process of building your own robot using an Arduino kit, providing a detailed, step-by-step approach.
Why Choose Arduino for Robotics?
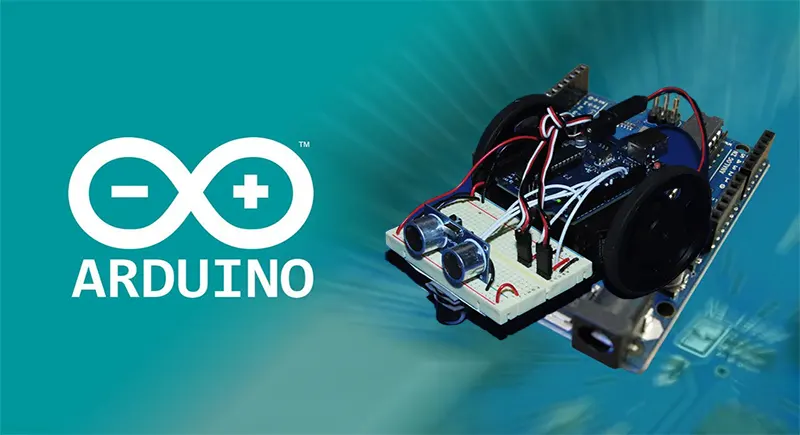
Arduino is an open-source electronics platform based on easy-to-use hardware and software. It’s ideal for both beginners and experts due to its intuitive interface and vast community support. The platform allows users to create interactive projects and control various components like sensors, motors, and LEDs. For those just starting out, an arduino starter kit for kids can be a great way to learn the basics while having fun.
Materials Needed
- Arduino board (such as Arduino Uno)
- USB cable for programming
- Various sensors (ultrasonic, infrared, etc.)
- Motors (DC motors and servo motors)
- Wheels and chassis for the robot
- Battery pack for power supply
- Breadboard and jumper wires
- Resistors, LEDs, and other electronic components
- Screwdriver and basic tools
Step 1: Assemble the Chassis
The first step in building your robot is to assemble the chassis. This forms the body of your robot and provides a base for mounting other components. Most kits come with a pre-designed chassis that you can simply screw together. Ensure that the wheels are properly attached and can rotate freely.
Step 2: Mount the Motors
Next, attach the motors to the chassis. DC motors are commonly used for driving the wheels, while servo motors can be used for steering or moving other parts. Secure the motors using the brackets provided in the kit. Make sure to connect the motors to the motor driver board, which will allow you to control them with your Arduino.
Step 3: Connect the Sensors
Sensors are crucial for enabling your robot to interact with its environment. Common sensors include ultrasonic sensors for distance measurement and infrared sensors for obstacle detection. Mount these sensors on the chassis in strategic positions and connect them to the Arduino board using jumper wires.
Step 4: Program the Arduino
Once the hardware setup is complete, it’s time to bring your robot to life with programming. Connect your Arduino to a computer using the USB cable and open the Arduino IDE. Write a simple program to control the motors and read sensor data. You can start with basic programs to move the robot forwards and backwards, and gradually introduce more complex behaviors like obstacle avoidance.
Step 5: Test and Iterate
After uploading your program to the Arduino, test your robot to ensure everything is functioning as expected. Make adjustments to the code and hardware as necessary. Robotics is an iterative process, so don’t be afraid to experiment and make improvements.
Conclusion
Building a robot with an Arduino kit is an exciting and rewarding experience. By following this step-by-step guide, you can create a robot that not only moves but also interacts with its environment. Whether you’re a beginner or an experienced enthusiast, the possibilities with Arduino are endless. So, grab an arduino starter kit for kids and start building your own robotic creations today!